Adding an account to Microsoft Outlook
This guide will walk you through the process of adding an account within Microsoft Outlook.
- When Microsoft Outlook is open, select File at the top left.

2. Account Settings > Account Settings

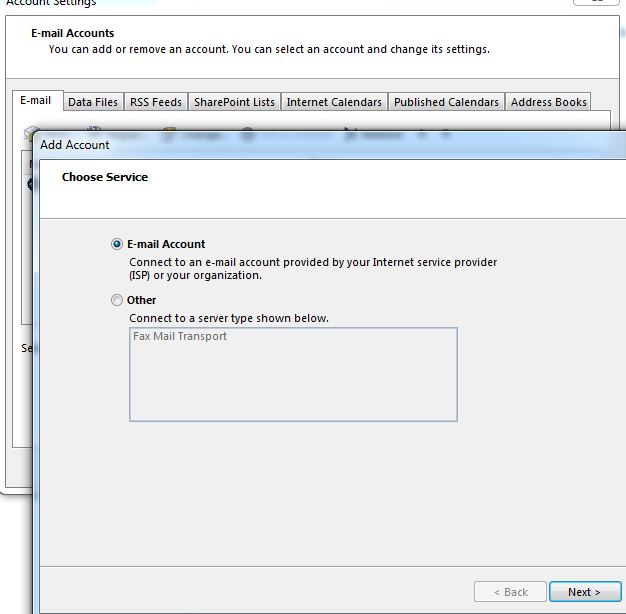
3. Here you will see all your pre-configured accounts, click “New…”

4. Select “E-mail Account”
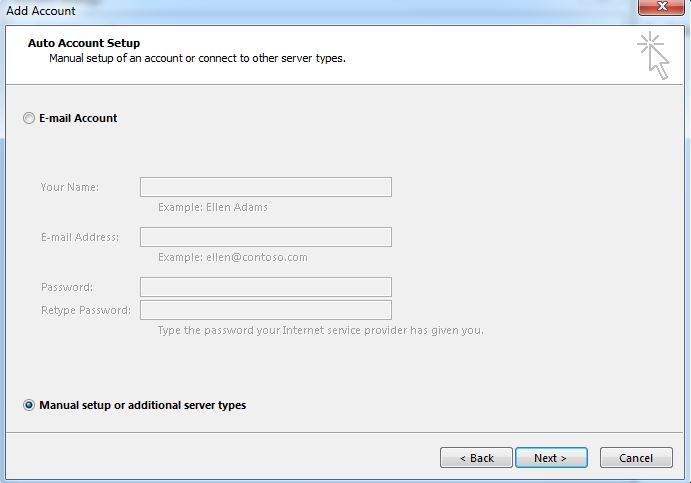
5. Select “Manual setup or additional server types”
6. Select POP or IMAP

7. Here you will need to fill out the details to connect to your email account.
Incoming mail server: mail.yourdomain.com
Outgoing mail server: mail.yourdomain.com
User Name: This will always be your full email address
Please make sure “Require logon using Secure Password Authentication” is ticket.
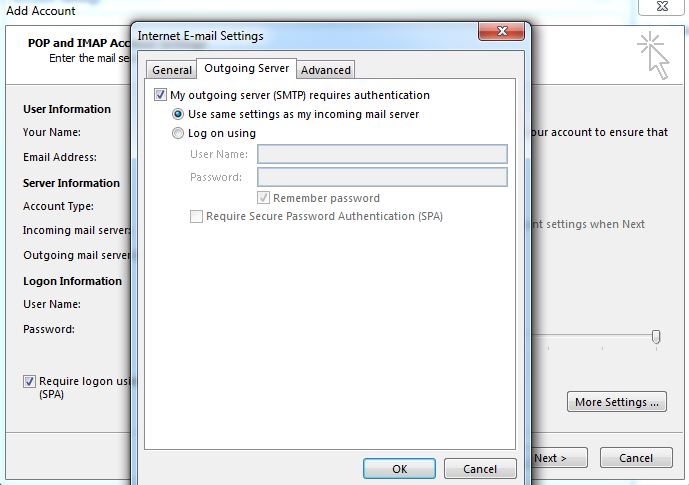
Before you click Next, we need to modify a couple more settings, please click “More Settings”.

8. After you’ve selected “More Settings”, a dialog box will appear like so. You want to make sure “My outgoing server (SMTP) requires authentication” is ticked. Then proceed to the “Advanced” tab.
9. Within the Advanced tab we need to make sure it’s set up to the following:
Incoming Server (IMAP): 993
Use the following type of encrypted connection: SSL
Outgoing Server (SMTP): 465
Use the following type of encrypted connection: SSL
Once those changes have been make click OK.

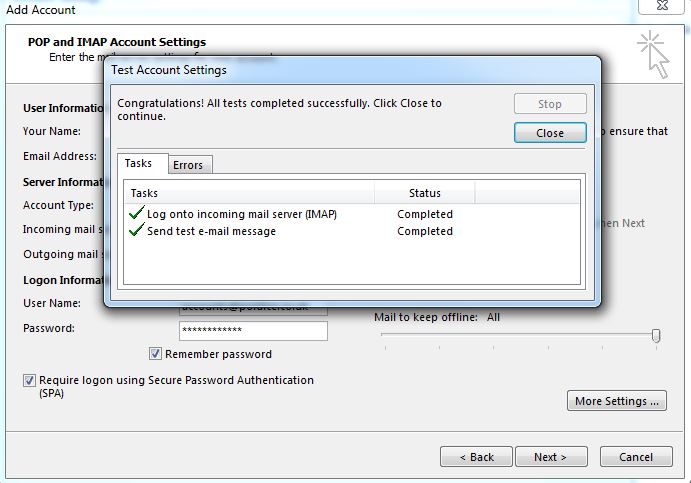
10. You can now click Next, Outlook will test the account details automatically. You may get prompted with an “Internet Security Warning”, this can be safely ignored. Please answer “Yes” to continue using the server.
11. That’s it! If you see both green ticks, you can continue by selecting Next. Your account is now set up and ready to send/receive emails.